前言
看@heo的博客首页,他的第一个文章卡片是其余卡片宽度的两倍,F12可知是首页的首个文章卡片多了一个class,虽然我的文章卡片暂时没这需求,但刚好有人问怎么才能控制首页第一个文章卡片的样式,也刚好我有思路,就实现一下吧
关键就是怎么给首个文章卡片加一个class,我想到了和之前给文章卡片加上最新文章标志差不多的操作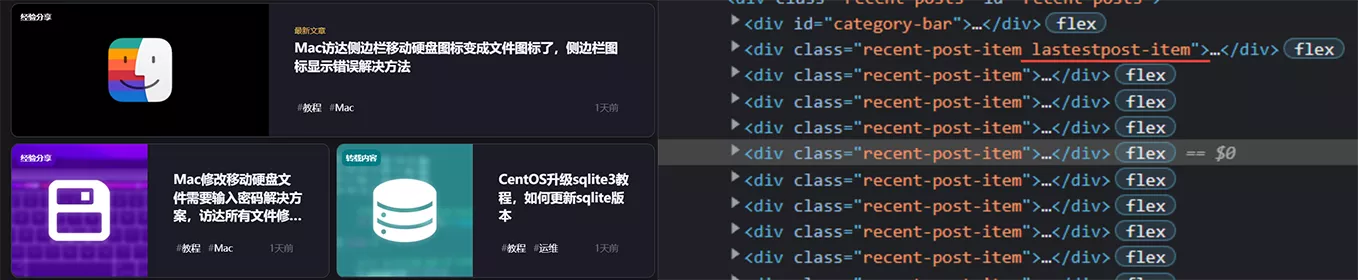
实现
先看原来post-ui的结构:\blog\themes\butterfly\layout\includes\mixins\post-ui.pug1
2
3
4
5mixin postUI(posts)
each article , index in page.posts.data
.recent-post-item//要在这里加个calss
//后面就是文章卡片的具体的内容
可以改成这样,就能将首页第一个文章卡片和其余卡片分开渲染成html,自然,加个class就轻而易举了1
2
3
4
5
6
7
8
9
10mixin postUI(posts)
each article , index in page.posts.data
if (firstpost !== 1 && is_current('/'))
- var firstpost = 1
.recent-post-item.firstpost-item
//首页首个文章卡片的具体的内容(cv原来的就行)
else
.recent-post-item
//其余文章卡片的具体的内容(cv原来的就行)
这样,首页第一个文章卡片就会多一个firstpost-itemclass,控制这个class就能控制样式了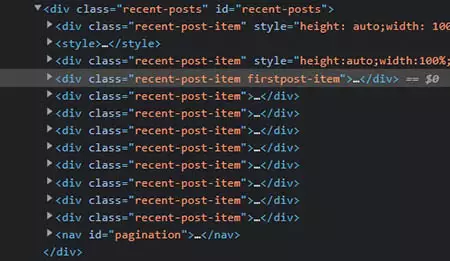
而且这样改完pug,首页第一个文章卡片有更多的操作空间,可以完全和其余卡片长得不一样,修改具体内容里的源码即可
优化
@heo的代码结构优化版本(适合无需对首页第一个卡片进行定制化)1
2
3
4
5
6mixin postUI(posts)
each article , index in page.posts.data
- let lastPost = firstpost !== 1 && is_current('/') ? true : false
- var firstpost = 1
.recent-post-item(class= (lastPost === true) ? 'firstpost-item' : '')